
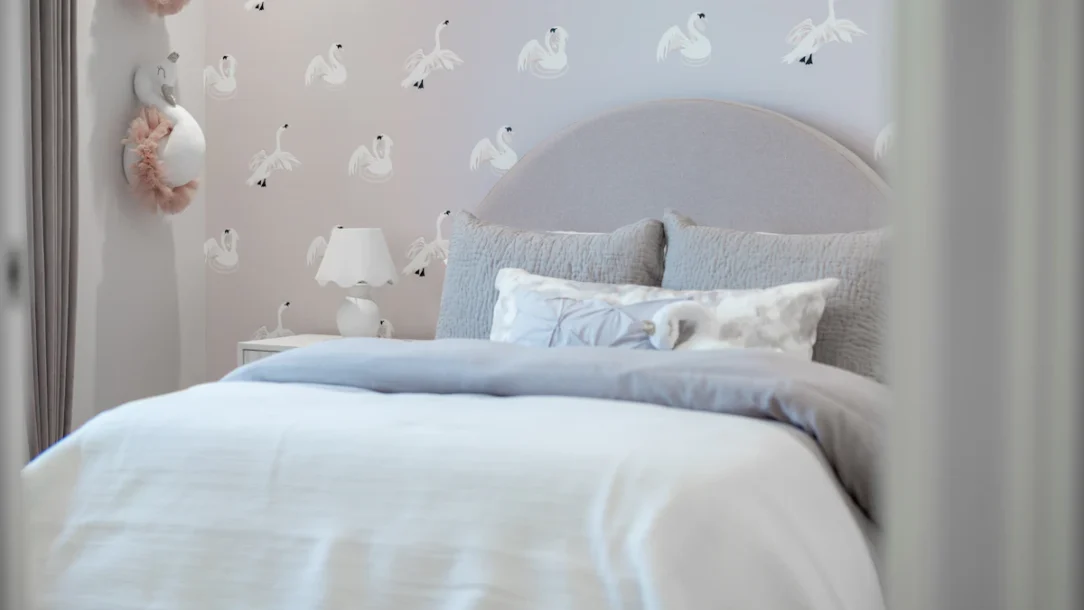
Peel and stick wallpaper can transform a plain wall without paste, soaking, or a professional installer, but it is not automatically foolproof—or automatically renter-safe. Most failures happen before the first panel ever goes up: the wall is too textured, the paint is too fresh, the surface is dusty or low-sheen, the room is too humid, or the product simply is not compatible with the finish underneath.
When the surface is right and the installation is patient, removable wallpaper can create a convincing accent wall in a bedroom, living room, dining area, home office, or entryway. This guide explains where it performs well, where it tends to fail, and how to install it so the seams, pattern, and edges look intentional instead of temporary.
Table of Contents
Where Peel-and-Stick Wallpaper Usually Works Best
Most removable wallpaper performs best on smooth, clean, dry, sound painted surfaces. Satin and semi-gloss finishes are commonly recommended by manufacturers because the adhesive has a more predictable surface to grip than rough texture or chalky flat paint.
Good locations include bedroom accent walls, living room focal walls, dining areas, entryways, home offices, stair risers, backs of bookshelves, and other low-moisture interior surfaces. Spoonflower specifically lists bedrooms, living rooms, entryways, stair risers, and small spaces among suitable uses for its removable wallpaper, while Tempaper recommends smooth, painted surfaces in good condition. See Spoonflower’s current installation guidance.
Where Peel-and-Stick Wallpaper Commonly Fails
Textured walls: Orange-peel, knockdown, sand, heavy plaster texture, and raised imperfections reduce the amount of adhesive making full contact with the wall. The paper may bridge over high points, show bumps, or slowly release at seams and edges.
Fresh paint: Newly painted walls may feel dry long before the coating is fully cured. WallPops says to allow newly painted surfaces to cure for a minimum of four weeks, while Spoonflower recommends at least 30 days for its product. Follow the wallpaper brand and paint manufacturer’s curing instructions rather than rushing the installation. Review WallPops installation guidance.
Flat, matte, low-sheen, washable, or non-stick coatings: Compatibility varies by product. Tempaper specifically does not recommend matte, flat, or low-sheen paints for its peel-and-stick product, and Spoonflower cautions about washable, scrubbable, no-VOC, or non-stick paints. That does not mean every removable wallpaper will fail on every such paint, but it does mean a sample test is essential.
High-moisture rooms: Steam, condensation, and repeated humidity swings can weaken adhesion. A powder room may perform very differently from a bathroom with a frequently used shower. Spoonflower advises against using its peel-and-stick wallpaper in high-moisture areas with showers or bathtubs.
Damaged or unstable paint: If the existing paint is peeling, chalky, poorly bonded, or lifting from the drywall, the wallpaper may adhere to the paint perfectly and still pull the paint away from the wall.
Exterior surfaces and heat: Most interior peel-and-stick wallpaper is not designed for outdoor exposure, and vinyl wall products should not sit close to intense heat sources. WallPops advises keeping its products at least 15 inches from stoves, fireplaces, or other heat sources and does not recommend outdoor use.
Test a Sample Before Ordering the Whole Wall
A sample test is the cheapest insurance in the entire project. Apply a piece to the exact painted surface you plan to cover—not a different room with different paint. Leave it long enough to experience normal temperature and humidity changes, then check the edges and remove it slowly.
You are testing two things at once: whether the wallpaper stays bonded and whether the paint tolerates removal. If the sample curls, slips, bubbles, or lifts paint during removal, solve that problem before ordering several rolls.
For renters, also check the lease. If you want more low-commitment wall options, compare wallpaper with these renter-friendly wall decor ideas that do not require drilling.
Measure the Wall and Plan the Panel Layout
Measure the full wall height and width in several places because walls and ceilings are not always perfectly square. Order according to the wallpaper manufacturer’s panel dimensions and pattern repeat, and include a reasonable allowance for trimming and matching the design.
Before cutting anything, lay out the rolls in order and identify the top of the pattern. If the design has a large repeat, dry-match two neighboring panels on the floor so you know how much material is consumed by alignment.
Prep the Wall Properly
Remove dust, grease, cobwebs, adhesive residue, and anything loose. Fill obvious holes and gouges, sand repairs smooth, and make sure the wall is completely dry before installation. Wallpaper does not hide a bad surface as well as people expect; bumps and depressions often remain visible through the finished panel.
Several manufacturers recommend an alcohol-and-water wipe after normal cleaning to improve adhesion, but use the exact prep method specified by the product you purchased. Tempaper recommends a 1:1 isopropyl alcohol and water solution for its surface prep, while Spoonflower specifies its own ratio. Do not assume every adhesive system wants the same cleaner.
Remove switch and outlet covers before hanging the paper. Turn the electrical supply off before removing those covers, and restore power only after the covers are safely reinstalled.
Install the First Panel Perfectly Straight
The first panel controls every panel after it, so do not trust the corner of the room to be perfectly vertical. Use a level or laser level to draw a light plumb guide slightly inside the width of the first strip.
Peel only a small section of backing from the top. Position the panel with a little excess at the ceiling, align it to the plumb line, and press the upper center in place. Step back before committing to the rest of the panel. A one-quarter-inch mistake at the top becomes much more obvious by the time you reach the baseboard.
Match the Pattern Before Pressing the Next Panel
Do not line up the second panel only at the ceiling. Match the actual design at eye level, where alignment errors are most visible. Some products are designed to butt at the seams; others intentionally overlap by a specified amount. Follow the product instructions instead of assuming one method works for all removable wallpaper.
Spoonflower, for example, instructs installers of its current peel-and-stick paper to use an overlap when matching adjacent panels. Other brands may use different seam construction. The installation guide that came with your exact wallpaper should decide the seam method.
Smooth From the Center and Work in Small Sections
Pulling the entire backing sheet off at once makes the panel much harder to control. Expose a short section, smooth it, then peel more backing as you work downward. Use a clean wallpaper smoother or squeegee and push air toward the outer edges.
Do not stretch the material to force a pattern into alignment. Stretching can distort the print and cause seams to pull apart later. If the panel drifts, peel it back slowly to the problem area and reposition it rather than dragging the adhesive sideways.
Handle Corners, Trim, Outlets, and Switches Carefully
Interior corners are rarely perfectly square. Rather than trying to force a full panel tightly into a crooked corner, follow the wallpaper manufacturer’s corner method and allow the required wrap or overlap. A new sharp blade and a straightedge create cleaner cuts than repeatedly sawing at the material with a dull knife.
At baseboards and ceilings, press the paper firmly into the edge with a smoother, then trim against a straightedge. Around outlets and switches, keep the power off while covers are removed, make conservative cuts, and let the cover plate hide the final trimmed edge.
Fix Bubbles, Lifting Edges, and Visible Seams
Bubbles during installation: Peel back to the bubble and smooth the panel forward again. Trapping a pocket and hoping it disappears later is rarely the cleanest solution.
Edges lifting immediately: Stop and investigate the wall. Dust, texture, incompatible paint, moisture, or too much repositioning may be reducing adhesion. Adding random glue can make future removal less predictable and may void the product guidance.
Visible seams: First check whether the product expects overlap or butt seams. If the pattern matches but a narrow wall-colored line shows, the first panel may not have been plumb or the wall may be moving out of square.
Use Peel-and-Stick Wallpaper in the Right Rooms
Bedrooms: One wall behind the bed is a low-traffic place for pattern and usually avoids the moisture and grease problems found elsewhere in the home. It also works well with the proportion and focal-point ideas in this guide to making a bedroom look expensive on a budget.
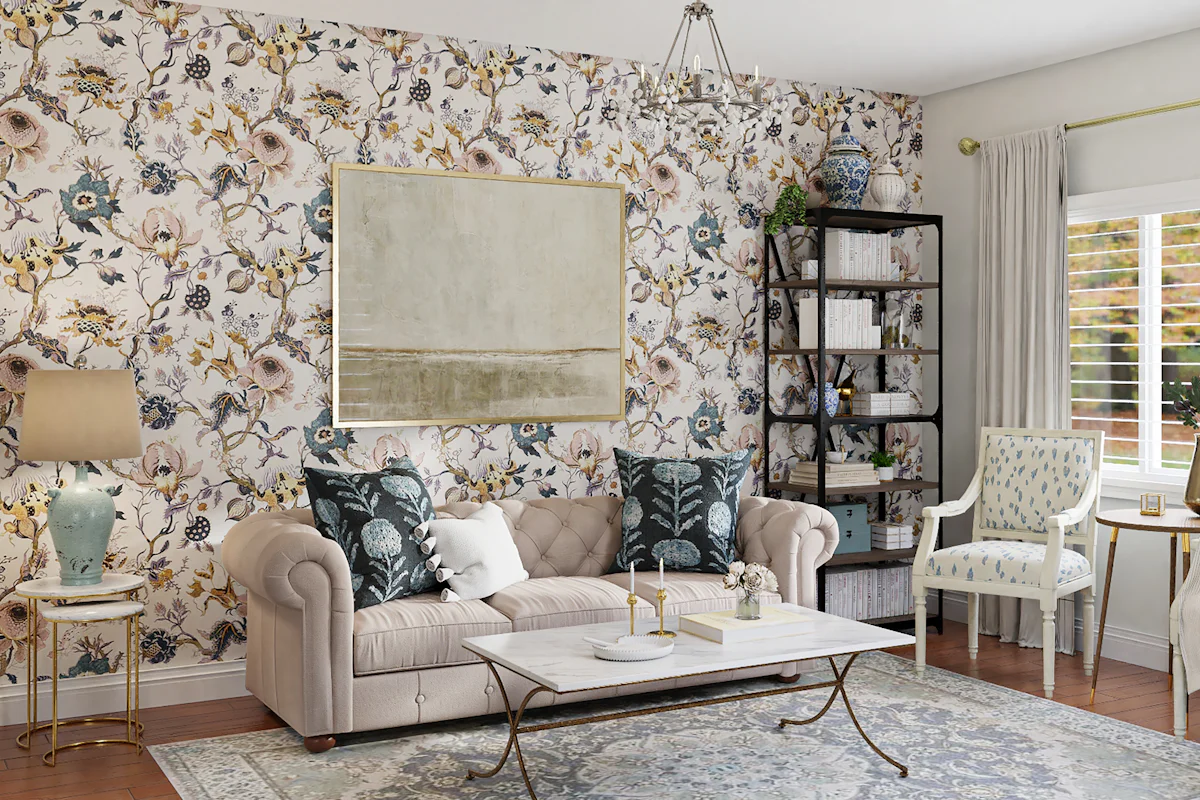
Living rooms: Use wallpaper behind a sofa, media console, or reading area to create a focal wall without making a small room visually busy. If the living room already has a strong TV wall, compare the pattern with these TV wall ideas without built-ins before deciding which wall should lead.
Home offices: A patterned wall behind or beside the desk can define the work zone. In a small apartment, it can pair especially well with these compact home office ideas because it creates separation without consuming floor space.
Kitchens and backsplashes: Use caution. Some peel-and-stick products are made for backsplash use, while ordinary removable wallpaper may not be appropriate near heat, grease, or heavy splashing. If the goal is specifically a rental kitchen backsplash, use a product designed for that location and compare the options in this renter-friendly backsplash guide.
Remove It Slowly to Reduce Paint Damage
Removal technique matters almost as much as installation. Start at a corner and peel slowly, keeping the wallpaper close and roughly parallel to the wall rather than yanking it straight toward you. Spoonflower’s current removal guidance recommends pulling downward at about 180 degrees to reduce stress on the paint and primer.
If the paint begins lifting, stop instead of pulling harder. Adhesive removability depends on the wallpaper, paint, primer, wall condition, installation duration, humidity, and how well the paint was bonded in the first place.
Renter-Friendly Does Not Mean Damage-Proof
The term renter-friendly describes intent, not a guarantee that every wall will look untouched after removal. Weak paint, uncured paint, poor primer, repaired drywall, humidity, and long installation times can all change the result.
For a rental, get permission when required, keep the product packaging and installation instructions, test a sample in an inconspicuous location, and photograph the wall condition before installation. Those steps are much more useful than assuming the word “removable” eliminates all risk.
Common Peel-and-Stick Wallpaper Mistakes
Skipping the sample test. A beautiful print is not useful if the adhesive is incompatible with the wall.
Installing over fresh paint. Dry-to-the-touch is not the same thing as fully cured.
Starting in a crooked corner. Use a true vertical guide for the first panel.
Removing the full backing sheet at once. Work in small sections so the adhesive does not grab the wrong part of the wall.
Stretching the paper to force a match. Reposition it instead of distorting it.
Using ordinary wallpaper in a high-moisture or high-heat zone. Choose a product specifically rated for the conditions.
Frequently Asked Questions
Does peel-and-stick wallpaper work on textured walls?
It is usually less reliable on textured walls because the adhesive cannot make full contact with the surface. Light texture may work with some products, but heavy orange-peel, knockdown, or rough plaster is a common failure point. Test a sample first and follow the wallpaper manufacturer’s surface recommendations.
How long should I wait after painting before applying peel-and-stick wallpaper?
Follow both the paint and wallpaper manufacturers’ curing instructions. Many removable-wallpaper brands recommend waiting roughly three to four weeks or longer after painting so the coating can fully cure.
Can peel-and-stick wallpaper damage paint?
It can. Removal risk increases when paint is uncured, poorly bonded, chalky, flat, damaged, or installed over an unsuitable primer or surface. Testing a sample and removing the wallpaper slowly helps reduce risk but does not guarantee zero damage.
Can I use peel-and-stick wallpaper in a bathroom?
It depends on the product and the room. A low-humidity powder room may be suitable for some products, while bathrooms with frequent steam, showers, or condensation are often not recommended. Use the wallpaper manufacturer’s moisture guidance.
Why is my peel-and-stick wallpaper lifting at the edges?
Common causes include dust, wall texture, incompatible paint, fresh paint, humidity, temperature changes, over-repositioning, or a wall that was not fully dry. Fix the surface issue before adding extra adhesive.
Should peel-and-stick wallpaper seams overlap?
Only if the manufacturer designed the product to overlap. Some peel-and-stick wallpapers use butt seams and others specify a small overlap for pattern matching. Follow the instructions for the exact brand and material you purchased.
Peel-and-Stick Wallpaper Works Best When the Wall Is Right
Peel and stick wallpaper is one of the fastest ways to add pattern and color to a room, but the adhesive cannot compensate for the wrong surface. Smooth, clean, fully cured walls give the product the best chance to stay flat and remove more predictably.
Test first, prep thoroughly, use a true vertical line for the first panel, match the pattern before committing the next strip, and remove the paper slowly when the time comes. When those steps are handled carefully, removable wallpaper can look like a deliberate design finish instead of a temporary shortcut.


Share Your Thoughts